Designing a website can be exciting, but jumping right into colors and images is not the best first step. First and foremost, you must have a clear plan. That’s where wireframing comes in. It’s like a website blueprint: simple, clear, and essential. This beginner’s guide will explain what wireframing is, why it’s important, and how to progress from your first interface sketch to a full launch.
What Is Wireframing?
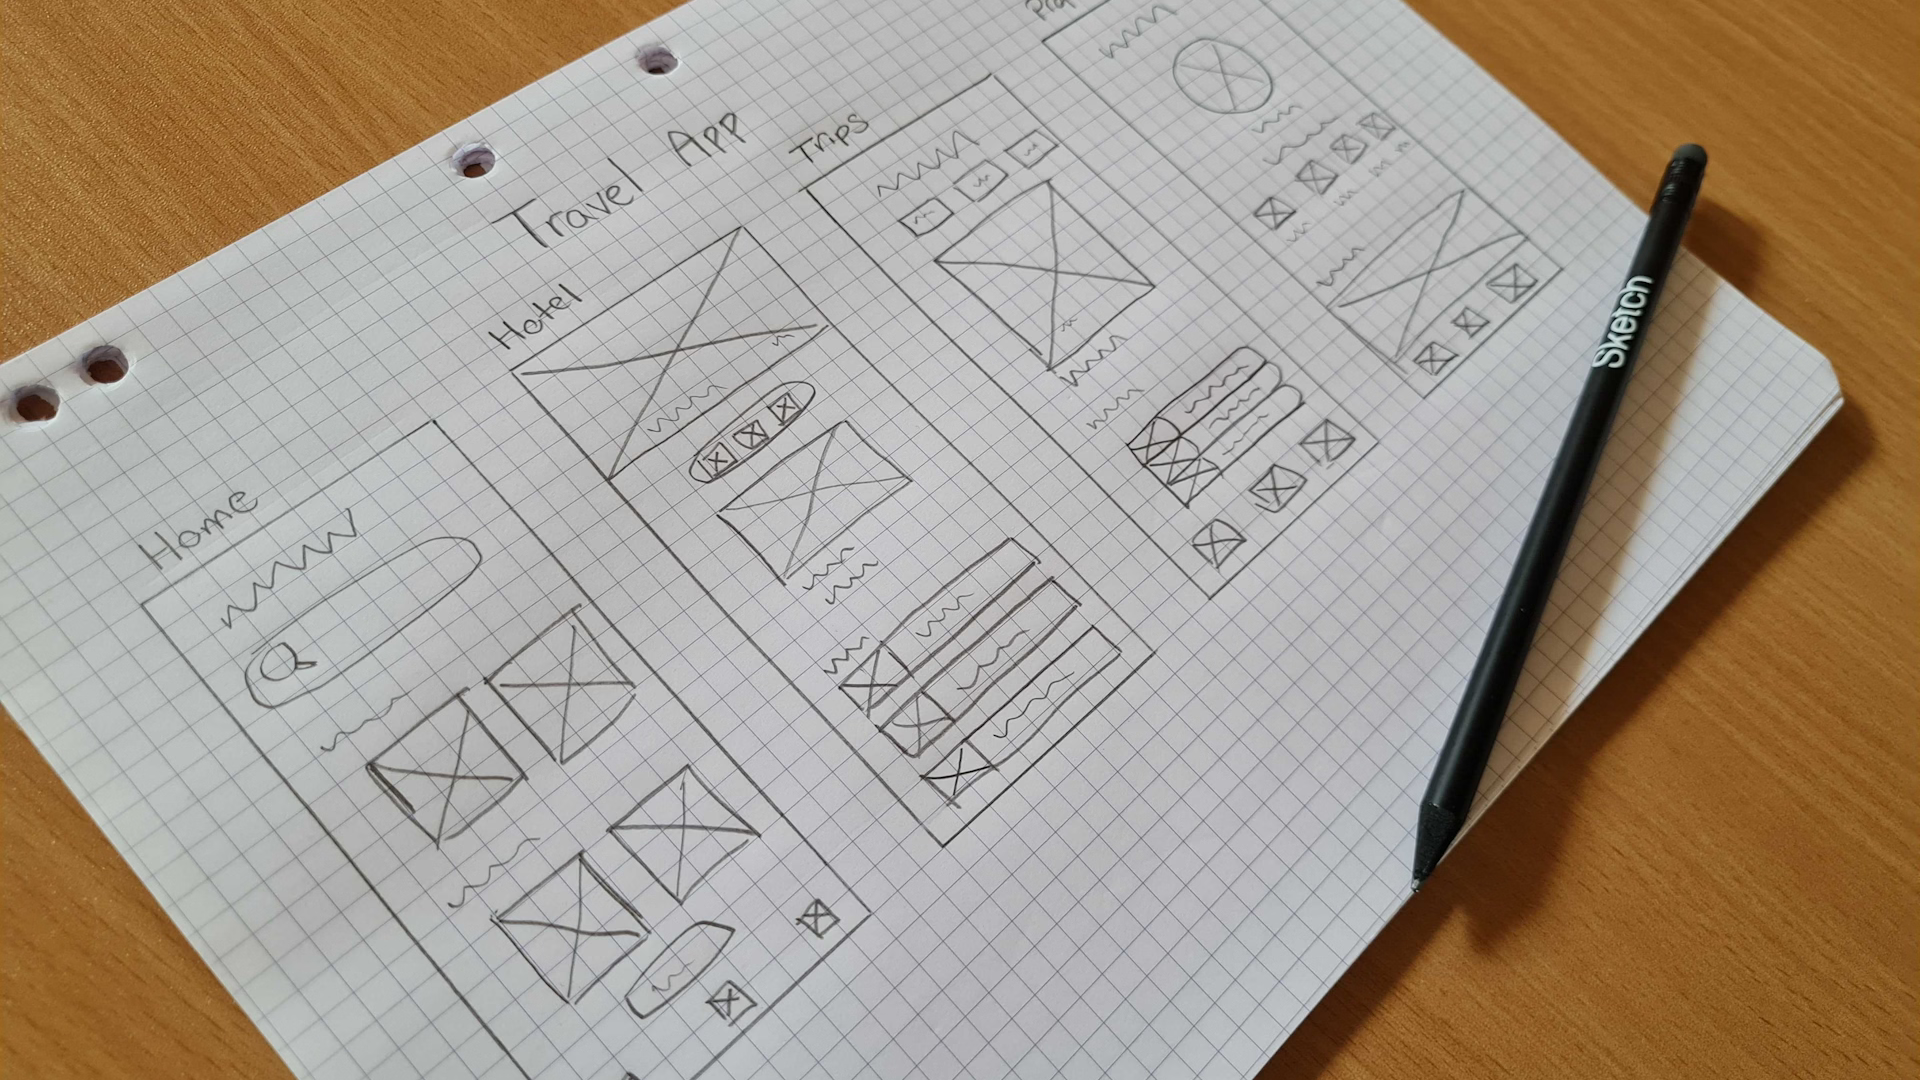
Wireframing is the process of planning your website’s layout using basic visuals. Think of it as a skeleton or structure diagram that shows where things go, like buttons, images, and text, without any styling. It focuses on function, not fashion.
Another commonly used term is “low-fidelity mockup”. This indicates that the design is not polished. It’s more about the concept than the final appearance. Keeping things simple allows you to quickly map out a site’s screen layout and test various ideas.
Why Wireframing Matters
Many beginners skip this step, but they shouldn’t. Wireframing saves time and helps avoid confusion later. When you use a page schematic before building a site, you catch problems early. That means fewer changes during development.
Moreover, a good wireframe helps everyone understand the plan. Whether you work with a designer, developer, or client, a clear low-fidelity prototype keeps the team on the same page.
In short, wireframing helps with:
- Better planning
- Faster development
- Clearer communication
Tools to Get Started with Wireframing
You don’t need fancy software to begin. Even pen and paper work fine for your first interface sketch. However, if you prefer digital tools, there are many options, such as
- Figma—Great for collaboration
- Balsamiq—perfect for quick, low-fidelity mockups
- Adobe—Offers more detailed screen layout options.
Choose a tool that matches your comfort level. The goal is to visualize, not to create the final design just yet.

How to Create a Wireframe in 5 Easy Steps
Let’s break it down into simple steps. This guide will help beginners create a structure diagram that is ready for launch.
Step 1: Establish the Purpose
Start by asking, What’s the goal of the page? Whether it’s a blog, shop, or homepage, your wireframe should reflect the purpose.
Step 2: List the Key Elements
Think about what the page needs—navigation, headlines, images, and buttons. Write them down. This list will guide your page schematic.
Step 3: Sketch the Layout
Now start drawing. Keep it simple. Make use of boxes for images, lines for text, and circles for buttons. Don’t worry about colors or fonts yet. This skeleton is all about layout and flow.
Step 4: Get Feedback
Once your low-fidelity prototype is ready, share it with your team. Ask for input. It’s easier to fix things now than after coding.
Step 5: Refine and Prepare for Launch
After feedback, update your screen layout. Make sure everything makes sense. Then hand it off to the developer or move to a full design phase.
Conclusion
To sum it up, wireframing is a smart step for any web project. It helps you organize your ideas and plan your layout. Whether you call it a low-fidelity mockup, blueprint, or interface sketch, the goal is the same: clarity.
By using a simple structure diagram, you avoid mistakes, save time, and create better websites. Start with sketches, ask for feedback, and stay focused on the function. With this approach, you’ll move from idea to launch with confidence.